Summer is full of vacation, popsicles, swimming pools, summer school, beaches and camp but there are always one or more weddings that are on the calendar. Since many people have multiple weddings that they must attend, it can get rather pricy to buy a new dress or outfit for each wedding. Here are some tips.
Monthly Archives: June 2011
Travel Organizer
I found this great organizer bag at the Vera Bradley store in Dallas. It opens up and has compartments for everything you would need for a trip. Also the pockets are lined with pastic so you can wipe the pockets down if they get dirty. There are places for makeup, hair accessories, shampoo, hairspray and jewelry. Also it has a hook at the top so you can hang it up by the sink. I would definitely recommend this bag! It will make packing and traveling much more organized and simple!
Yummy Pizza Ideas
A couple of weeks ago my family and I went to BJ’s Restaurant. We ordered a buffalo chicken pizza and Barbeque chicken pizza. I decided to make my own. They are super easy and fun to make.
Go buy a Pillsbury pizza crust in the section where the refrigerated cookie dough and dairy is located. Then follow the instructions on the tube which is to bake the crust for 5 minutes before putting the toppings on. Then when they are done pre baking, I covered the crust with a thin layer of extra virgin olive oil and sprinkled the crust with garlic salt.

For the BBQ chicken pizza:
1.Put a thin layer of KC BBQ sauce
2.sprinkle about 1/2 cup of mozzarella cheese on top of the sauce
3.cut up about 2-3 cups of chicken (I like to use a rotisserie chicken)
4.soak the chicken in the BBQ sauce
5.spread out the chicken over the cheese
6.sprinkle more mozzarella over the chicken
7.finish the pizza by grabbing the BBQ sauce bottle and dropping small dollops of sauce over the pizza.
8.cook it for about 10 minutes. Until the bottom of the crust is crispy and delicious!
9.finish by sprinkling some cut up cilantro on top
For the buffalo chicken pizza:
1.sprinkle about 1/2 cup of mozzarella over the crust
2.cut up about 2-3 cups of rotisserie chicken
3.soak in buffalo sauce
4.spread chicken over the top the cheese
5.sprinkle more mozzarella on top
6.drop small dollops of buffalo sauce over the pizza
7.cook it for about 10 minutes. Until the bottom of the crust is crispy and delicious!
8.finish by sprinkling some cut up cilantro on top
Packing Smart
Packing Smart by Miss Pure Cotton Designs featuring printed bags
yellow summer dress by Miss Pure Cotton Designs featuring a zebra belt
Finally… shoes by Miss Pure Cotton Designs featuring high heel pumps
My New Headboard
I love those upholstered headboards you can buy at places like Pottery Barn or Restoration Hardware. My Mom, Dad and I decided to make one for my bed. Here is the process and instructions on how I made mine. It is very simple and makes a big impact in a bedroom!It is also a less expensive option that looks just as nice as the store bought headboards.

We measured the height and width of the bed and took a trip to Home Depot (Notice my strong helper... a.k.a Dad)
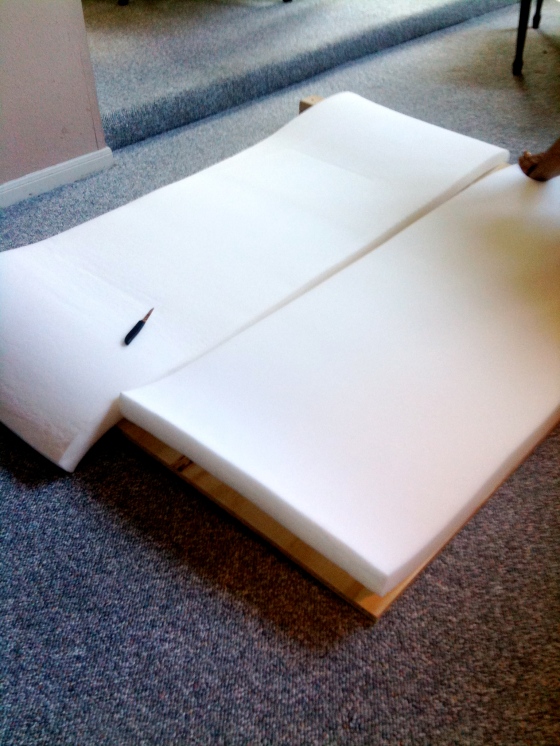
Then we picked a foam that was about 2" thick (this label says 3" thick... but it really depends on what you prefer for your headboard)

I picked a white denim fabric. It is sturdy and also has some texture.

My Dad cut down two pieces of lumber. One is about half the size of the other. Then he screwed those pieces together to make the legs for the headboard.


Lay the fabric face down on the floor, then place the batting on top of the fabric then put the plywood and foam on top of that. Then start at the top of the board and pull the fabric firmly to the opposite side and staple the fabric and batting down.

Staple 2-3 times at the top and then move down and do the same to the bottom and then on the left side and right side. Make sure to keep changing sides every couple of staples. You do not want the fabric to pull in one direction

Since the mattress and box springs will cover the bottom of the headboard you can just cut and fold the fabric over and staple it down


